Table of Contents
- Step-by-Step GitHub Pages Setup
- What to Put on a GitHub Personal Website
- Custom Domain: When to Use One
- Five GitHub Personal Website Patterns Worth Copying
- Common GitHub Pages Mistakes and How to Avoid Them
- FAQ
A GitHub personal website is a site you host with GitHub Pages, usually from a repository that publishes your portfolio, resume, developer profile, or personal brand online for free. For many people, it is one of the simplest ways to launch a personal site because the hosting is tied directly to a GitHub repository and basic updates can be published with a normal Git workflow.
That does not mean every GitHub personal website is easy on the first try. The most common problems are simple but frustrating: the repository name is wrong, the publishing source is not set, the custom domain is half-configured, or the person building the site does not know whether they need a one-page profile, a portfolio, or a blog.
This guide is built to solve that. First, you will get a quick answer and a fast-start workflow. Then we will cover custom domains, HTTPS, five useful website patterns to copy, common GitHub Pages mistakes, and the situations where GitHub Pages is the right tool versus when a no-code builder is the better fit.
sbb-itb-bf47c9b
Quick Answer
If you want the short version, this is how a GitHub personal website usually works:
- Create a repository named username.github.io.
- Add an index.html file or a simple site structure.
- Turn on GitHub Pages in repository settings.
- Publish from your chosen branch.
- Visit https://username.github.io.
- Optionally connect a custom domain and enable HTTPS.
GitHub Pages is a strong choice when:
- you want a free personal website
- you are comfortable with Git or want to learn it
- you want your site tied closely to your developer identity
- you need a portfolio, resume site, project site, or lightweight personal homepage
It is a weaker fit when:
- you want a very visual drag-and-drop workflow
- you need lots of marketing pages fast
- you want non-technical teammates editing the site regularly
- you want the simplest possible publishing flow with almost no setup
Who a GitHub Personal Website Is Best For
A GitHub personal website is not only for software engineers.
It is especially useful for:
- developers who want a portfolio tied to code and projects
- students building a public resume or project archive
- technical writers and engineers who want a simple publishing home
- designers or makers who are comfortable with lightweight static-site workflows
- job seekers who want a fast, credible personal site with a custom domain later
The biggest advantage is not just cost. It is control. You own the repository, the content lives in version history, and the site can stay extremely lightweight.
The main tradeoff is that GitHub Pages rewards a more structured workflow. If you want a visual editor, instant section blocks, and almost no technical setup, you may prefer a no-code builder instead.
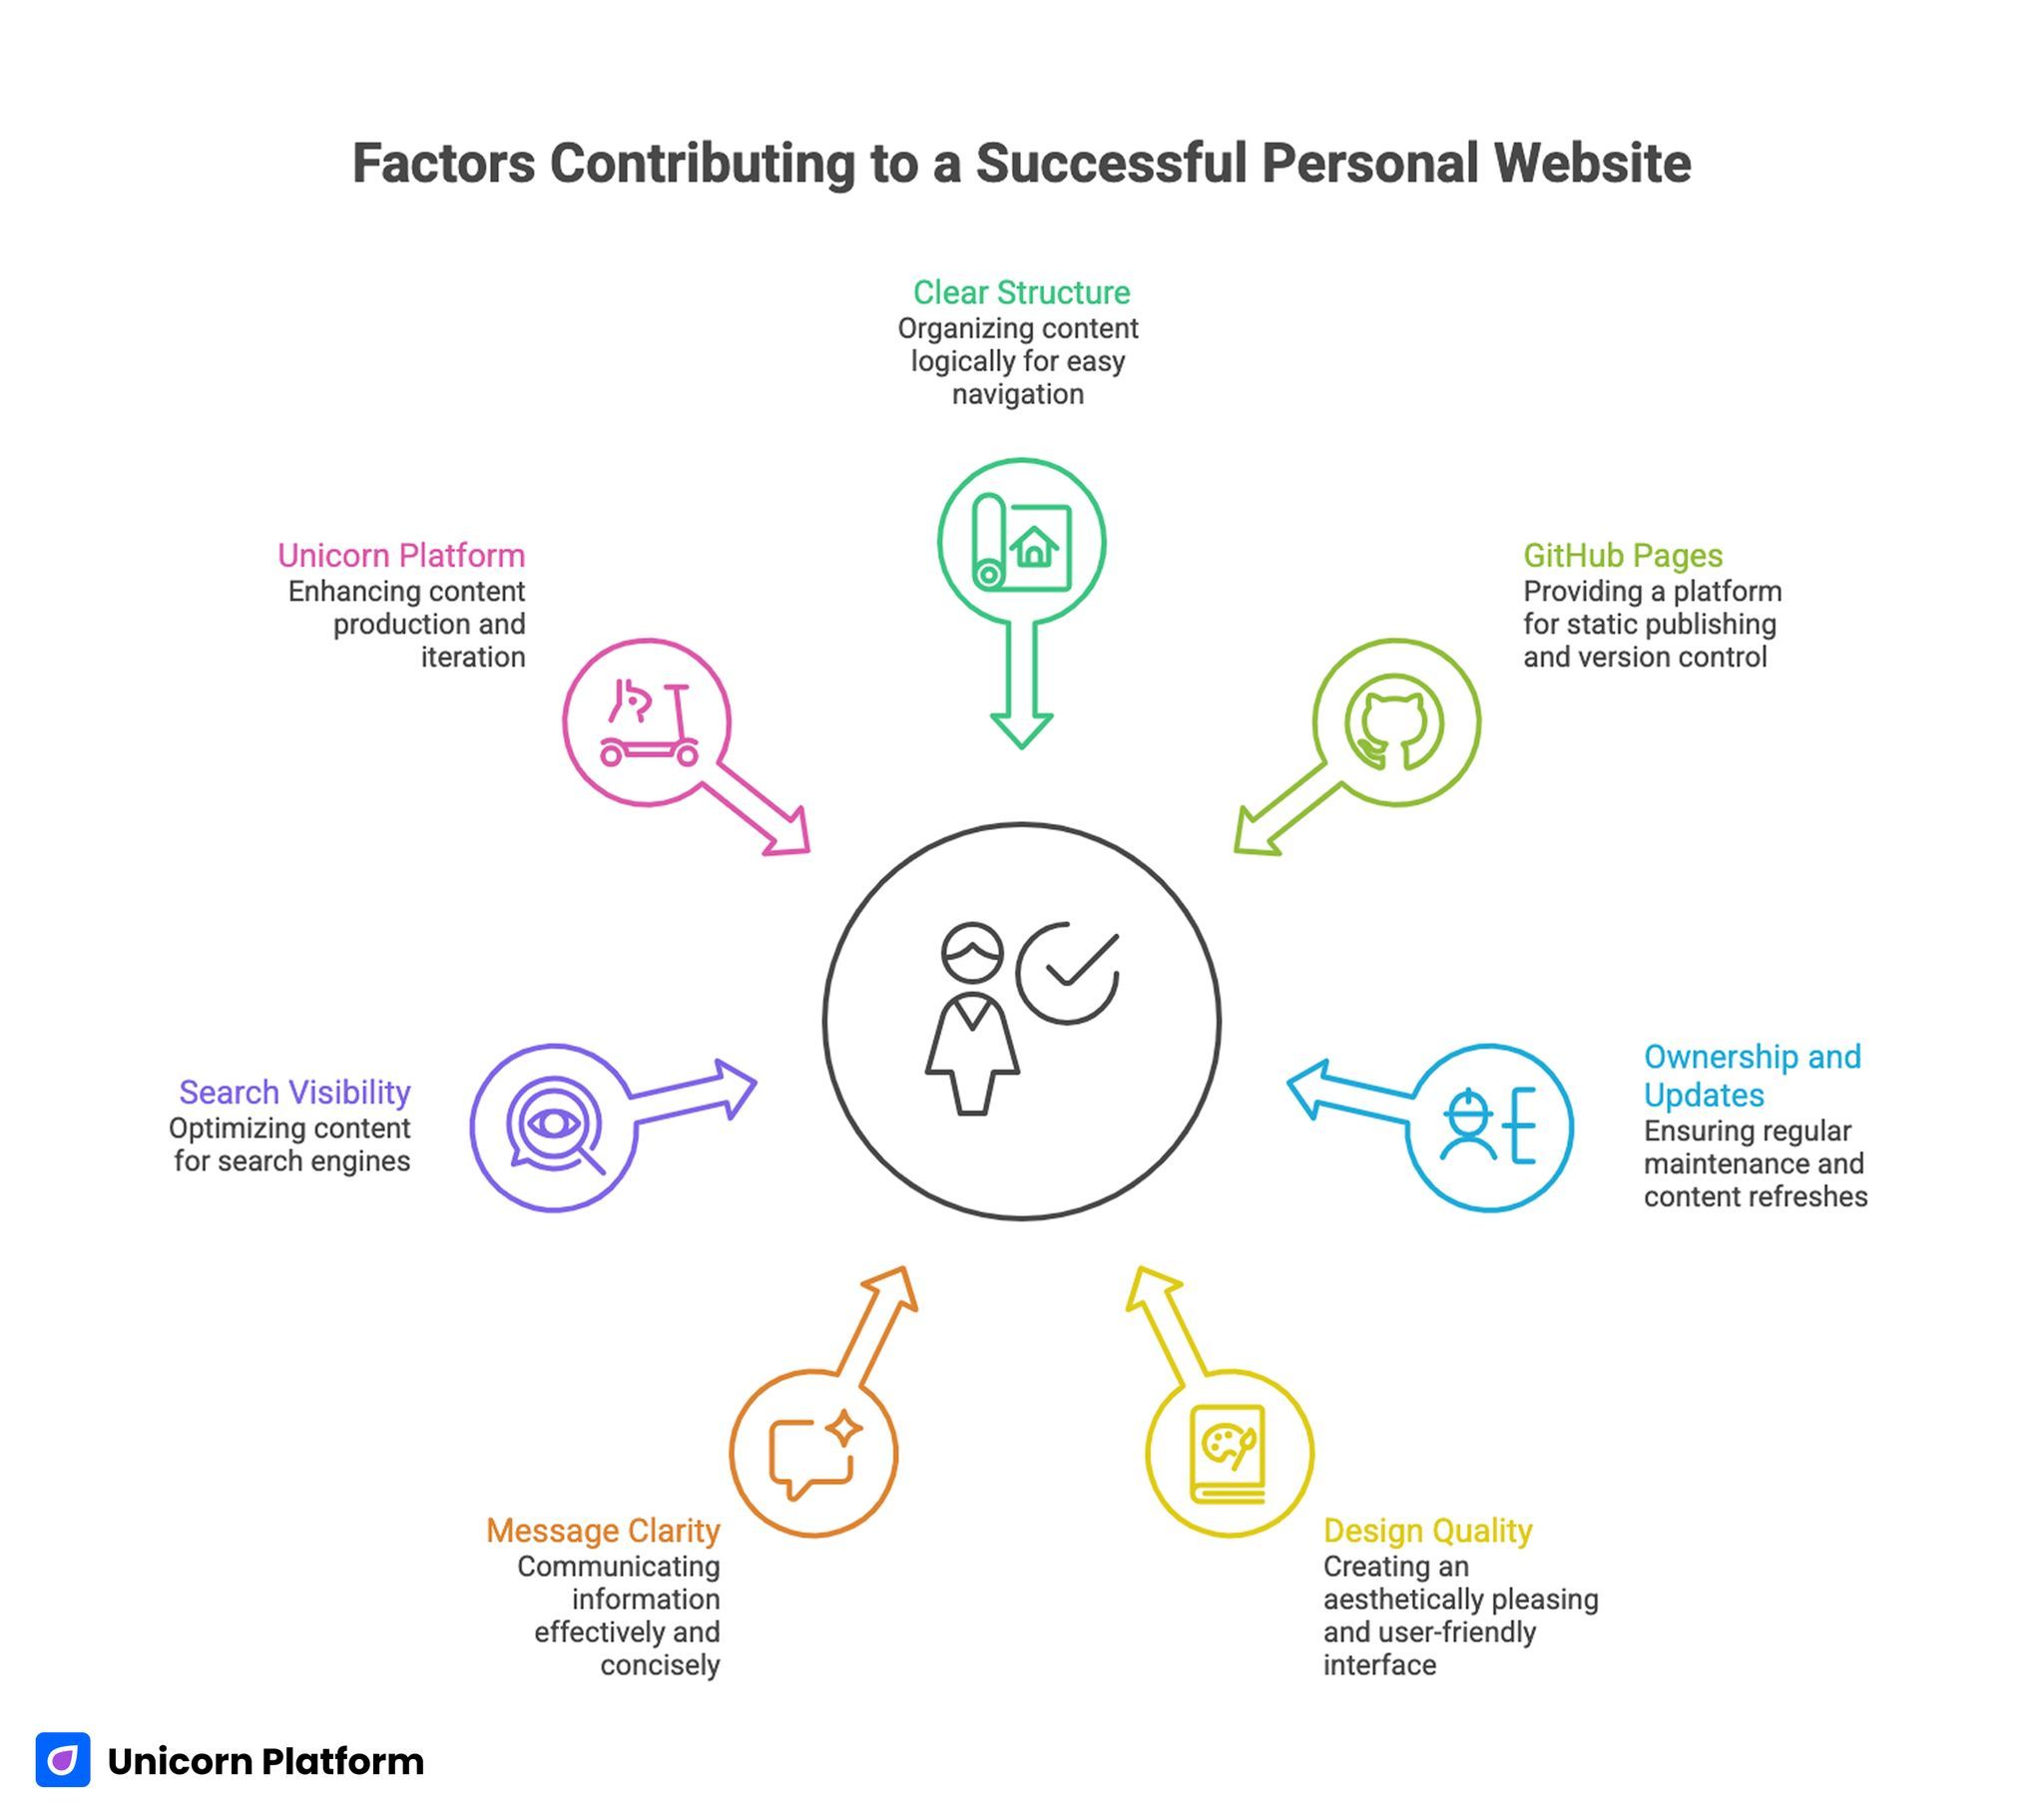
Factors Contributing to a Successful Personal Website
Step-by-Step GitHub Pages Setup
This is the cleanest beginner workflow for a personal website hosted on GitHub Pages.
| Step | What to do | Why it matters |
| 1 | Create a new repository named username.github.io | This is the default user-site naming pattern GitHub Pages expects |
| 2 | Make the repository public if needed for your plan | Public repositories are the simplest starting point for a personal site |
| 3 | Add a basic index.html or site files | Your website needs a homepage file to render useful content |
| 4 | Open repository settings and go to Pages | This is where GitHub Pages publishing is enabled |
| 5 | Choose Deploy from a branch and select the publishing branch | Without a publishing source, the site stays unpublished |
| 6 | Wait for the first deployment to finish | New pages can take a few minutes to appear |
| 7 | Visit https://username.github.io | This confirms the site is live |
| 8 | Add a custom domain later if needed | This improves branding and makes the site look more professional |
| 9 | Turn on HTTPS after the domain is configured | This keeps the final site secure and trusted |
How to Build the First Version Fast
For a first launch, do not overcomplicate the website.
A very simple GitHub personal website can be enough if it contains:
- your name
- what you do
- one short positioning statement
- selected projects or work samples
- contact information
- links to GitHub, LinkedIn, or other relevant profiles
A first version can be one page. That is often better than trying to build five sections, a blog, and a project archive on day one.
A simple starter structure might look like this:
- Hero section
- About section
- Selected projects
- Links and contact
If your goal is hiring credibility, that already covers most of the job.
What to Put on a GitHub Personal Website
A GitHub personal website should not feel like a random dumping ground for every project and every link you have ever created.
The strongest personal sites usually focus on clarity first.
1. A strong opening identity
In the first screen, a visitor should understand:
- who you are
- what kind of work you do
- what kind of opportunities you are open to
That can be as simple as:
- Frontend Developer building fast product interfaces
- Machine Learning Engineer focused on applied AI systems
- Designer shipping simple, useful web products
2. A project section that is easy to scan
Visitors do not want to guess why a project matters.
For each project, include:
- project name
- one-sentence summary
- your role
- the stack or toolset if relevant
- a live link or repo link when useful
3. A short but credible about section
A good about section gives context, not autobiography.
It should help a visitor understand:
- your background
- your current focus
- what you care about building or solving
4. A clear next step
The site should make one main action obvious:
- email you
- connect on LinkedIn
- view your GitHub
- book a call
- read your writing
If everything is equally important, nothing feels important.
Custom Domain: When to Use One
GitHub Pages works fine on username.github.io, especially for an early version.
But a custom domain usually becomes worth it when:
- you are job hunting
- you want a more polished personal brand
- you want a portfolio that feels independent from a platform URL
- you plan to put the site on resumes, bios, or outreach emails
A custom domain often improves first impressions because it feels more intentional and memorable.
Good reasons to stay on github.io for now
- you are still testing the site structure
- you want to launch quickly without touching DNS
- the site is mostly for experimentation or learning
Good reasons to add a custom domain now
- you want a long-term personal brand asset
- you want cleaner links on your resume or social profiles
- you want the site to feel more professional to recruiters or clients
How GitHub Pages Custom Domains Work
At a practical level, connecting a custom domain usually involves three things:
- adding the custom domain in GitHub Pages settings
- pointing your domain DNS records to the right destination
- waiting for DNS changes to settle before checking HTTPS
If you do this out of order, you often get the most common setup headaches:
- the domain points nowhere
- the domain resolves but the certificate is not ready yet
- the site works on one version of the URL but not the other
The safest mindset is this:
- first make the default GitHub Pages site work
- then add the custom domain
- then confirm HTTPS
- then test both www and non-www behavior if applicable
HTTPS: Why It Matters
HTTPS matters even for a simple personal website.
It helps because:
- browsers trust the site more
- users are less likely to see security warnings
- your site looks more professional
- it keeps the final URL standard and secure
On GitHub Pages, HTTPS is usually straightforward after the domain is connected correctly. But if the DNS setup is incomplete or inconsistent, HTTPS may not become available immediately.
That is why it is better to treat HTTPS as the final confirmation step after the base domain setup is clean.
Five GitHub Personal Website Patterns Worth Copying
Instead of chasing one perfect design, it is better to copy the right pattern for your type of work.
1. The minimal developer profile
Best for:
- backend engineers
- frontend developers
- students
- early-career technical hires
Typical structure:
- name and role
- short positioning statement
- featured projects
- GitHub and LinkedIn links
- contact
Why it works:
- fast to build
- easy to maintain
- strong enough for hiring use cases
2. The portfolio-first project site
Best for:
- product engineers
- designers with coded portfolios
- makers with visible side projects
Typical structure:
- hero
- selected work cards
- short case-study summaries
- tools or stack notes
- contact CTA
Why it works:
- shows proof early
- gives visitors something concrete to evaluate
- makes the site feel more credible than a plain profile page
3. The resume-plus-links site
Best for:
- job seekers
- students
- people who need something clean and fast
Typical structure:
- summary
- experience
- projects
- resume download
- links
Why it works:
- highly practical
- low maintenance
- easy to explain and update
4. The blog-and-notes site
Best for:
- technical writers
- developer educators
- researchers
- public learners
Typical structure:
- personal intro
- recent writing
- topics or tags
- about section
- contact or newsletter CTA
Why it works:
- turns consistent writing into proof of expertise
- gives your site a reason to grow over time
- works especially well when paired with GitHub-native workflows
5. The personal brand homepage with project proofs
Best for:
- indie founders
- consultants
- technical creators
- cross-functional builders
Typical structure:
- clear identity statement
- what you do
- selected projects or outcomes
- short bio
- links or CTA
Why it works:
- balances personality and proof
- works well even with a simple static site
- gives room for a custom domain and stronger long-term branding later
Common GitHub Pages Mistakes and How to Avoid Them
1. The repository name is wrong
For a personal user site, GitHub expects the repository naming pattern username.github.io.
If the name does not match your GitHub username correctly, the publishing result often will not behave the way you expect.
2. Pages settings are never finished
Some people create the repository and add files, but never actually confirm the publishing source in Pages settings.
That means the site content exists, but the website is not truly deployed.
3. The site is tested too early
A new GitHub Pages deployment can take a little time.
If you check the URL too quickly, you may think the setup is broken when it is simply still publishing.
4. The custom domain is configured before the base site works
This causes avoidable confusion.
The clean order is:
- get username.github.io working first
- then add the custom domain
- then wait for DNS
- then confirm HTTPS
5. The homepage is too vague
This is the biggest content mistake.
A GitHub personal website often fails not because of hosting, but because the content does not explain the person clearly enough.
If a visitor cannot quickly tell what you do, the website underperforms even if the setup is technically perfect.
6. The project section is just a link dump
A project list without context is weak.
Every featured project should tell people why it matters.
7. There is no next step
If your site does not clearly ask visitors to contact you, read more, or explore your work, it becomes harder for the site to do anything useful for your goals.
Troubleshooting FAQ Before You Panic
If your GitHub personal website is not working, these are the first things to check.
Is the repository named correctly?
For a user site, the repository name usually must match the username.github.io pattern.
Did you set a publishing source in Pages settings?
If not, the repository may exist without an active published site.
Did you wait long enough for deployment?
Initial publishing can take several minutes.
Are you testing the right URL?
Make sure you are checking the exact GitHub Pages URL or the correct custom domain.
Is your custom domain DNS finished propagating?
DNS changes can take time, and the site may behave inconsistently during that window.
Is HTTPS enabled after the domain setup is complete?
HTTPS depends on the domain configuration being clean first.
GitHub Pages vs a No-Code Builder
GitHub Pages is strong when you want:
- low-cost hosting
- version-controlled site files
- a developer-friendly workflow
- a personal site tied closely to technical identity
A no-code builder is often better when you want:
- visual editing
- fast landing-page assembly
- simpler publishing for non-technical users
- easier collaboration for a small team
That is why the best choice depends on the job.
If you want a technical personal website, GitHub Pages is often enough. If you want fast visual experimentation or a marketing-first launch flow, a no-code builder may fit better.
How to Apply This in Unicorn Platform
If you like the structure of a GitHub personal website but do not want to manage the setup manually, you can use the same content logic in Unicorn Platform.
A good Unicorn Platform version of this site would usually include:
- a direct hero statement
- a project or work section
- a proof block
- a short bio
- one clear CTA
That is especially useful if your goal is to launch a personal site quickly and spend less time on repository setup, deployment settings, and domain troubleshooting.
GitHub Pages is still a strong fit when you want a code-first workflow. Unicorn Platform is the easier fit when you want the content structure without the hosting and publishing overhead.
FAQ: GitHub Personal Website
What is a GitHub personal website?
A GitHub personal website is a site hosted with GitHub Pages, usually published from a repository associated with your GitHub account.
Is a GitHub personal website free?
It can be free to launch on a github.io address, depending on your repository setup and plan needs.
Do I need to know a lot of Git to use GitHub Pages?
No, but basic repository and publishing comfort helps a lot.
Can I use a custom domain with GitHub Pages?
Yes. A custom domain is a common upgrade once the default site is already working.
Does GitHub Pages support HTTPS?
Yes, after the site and domain setup are configured correctly.
Is GitHub Pages good for a resume or portfolio site?
Yes. It is especially good for simple portfolio, resume, developer, and project-based personal websites.
Can I build a blog with GitHub Pages?
Yes, especially if you are comfortable with a static-site workflow.
What if I want visual editing instead of repository setup?
Then a no-code builder may be a better fit.
How long does GitHub Pages take to publish?
It is often quick, but changes can take a little time to appear.
What is the most common beginner mistake?
The most common issues are incorrect repository naming, unfinished Pages settings, and confusing custom-domain setup.
Final Takeaway
A GitHub personal website is one of the cleanest ways to publish a personal portfolio or profile online if you want a code-friendly workflow and low overhead. The best results come from keeping the site simple, setting up the repository and publishing flow correctly, and making the homepage clear enough that a visitor understands you in seconds.
If you remember only one rule, make it this: get the basic github.io site working first, then improve it with stronger content, a custom domain, HTTPS, and better project presentation. That order makes the whole process easier and gives you a personal website you can actually maintain.